OureMenu App Setup Guide
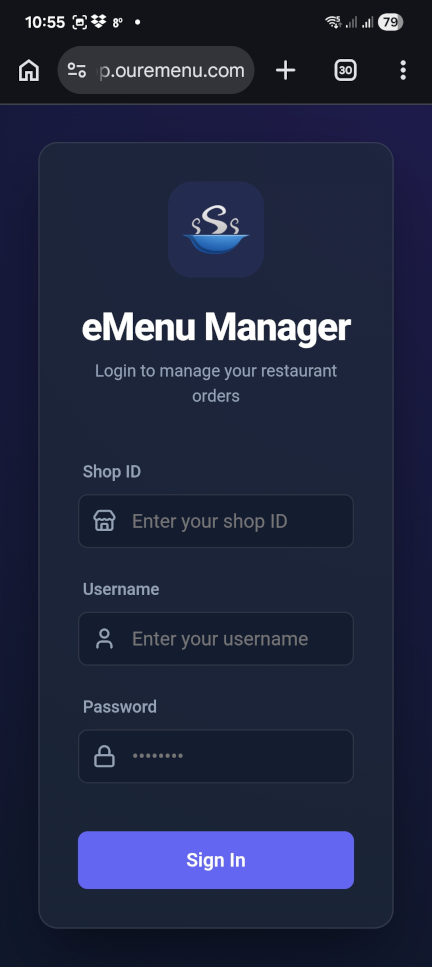
Step 1: Access & Login
Open your browser and navigate to the OureMenu App URL https://app.ouremenu.com/.
Enter the Shop ID provided by our support team.
Understanding the App Layout
The app features three primary tabs located at the bottom of the screen for easy navigation:
1. Dashboard
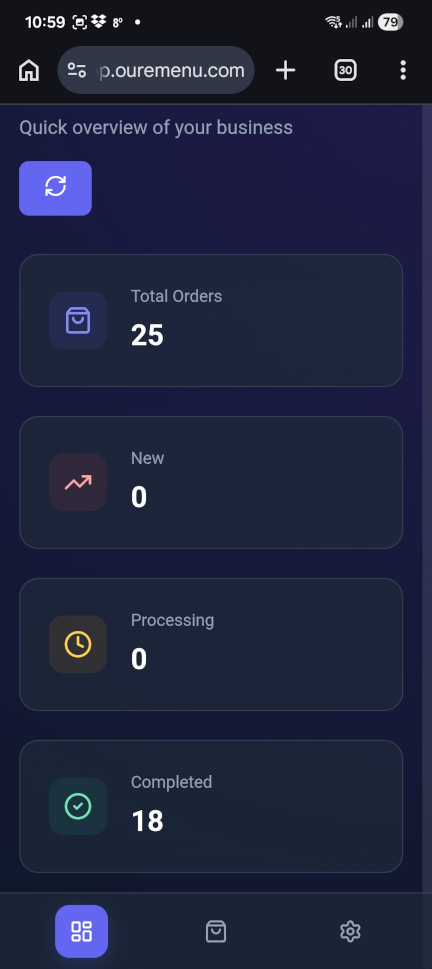
A quick overview of your business, showing total orders, new arrivals, and completed tasks.
2. Orders

Real-time monitoring. View all incoming and past orders in a detailed list format.
3. Settings
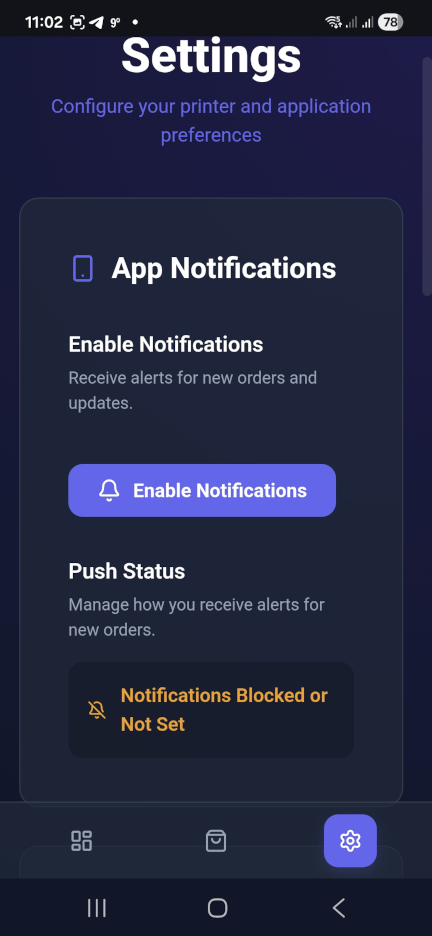
Configure your preferences, manage printers, and set up your app notifications.
Enabling Notifications
To ensure you never miss an order, you must enable push notifications within the app and your browser.
- Go to the Settings tab.
- Click the purple Enable Notifications button.
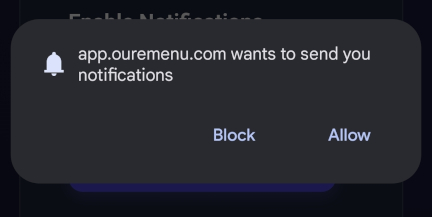
- When Chrome asks for permission, click Allow.

Managing Incoming Orders
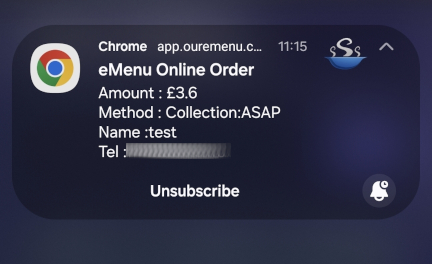
When a new order arrives, a popup notification will appear on your device. Clicking this notification will take you directly to the Order Details.
Alternatively, you can manually select any order from the Orders List to view the items, customer details, and payment summary.
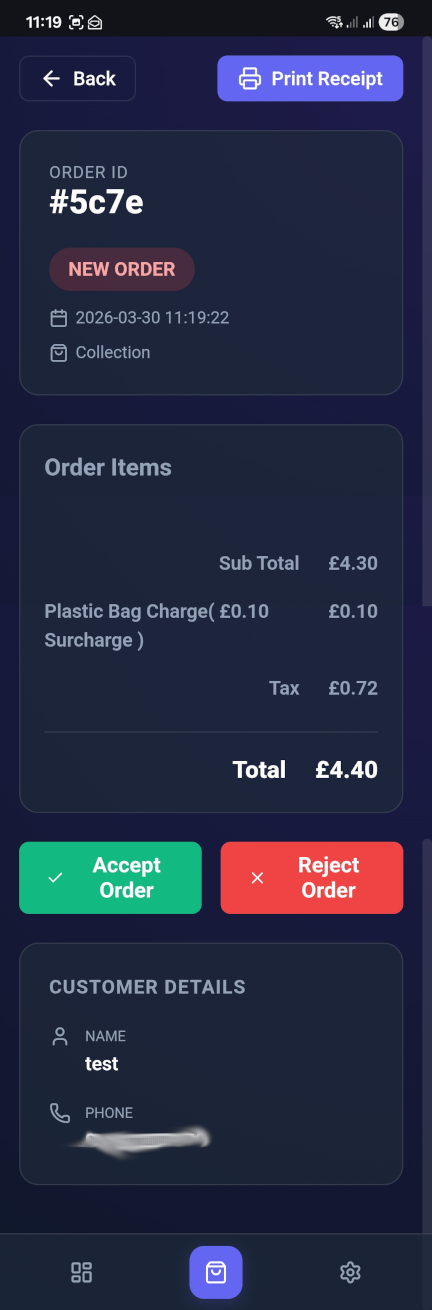
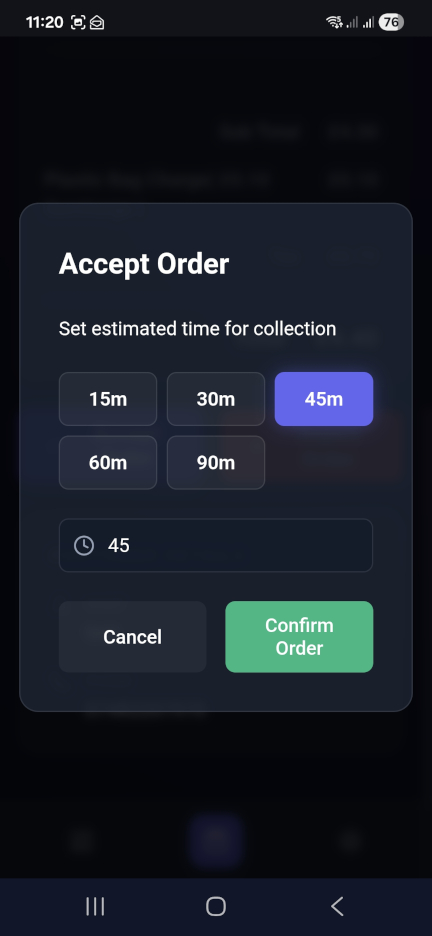
Accepting or Rejecting
Scroll to the bottom of the order details to see your options:
- Accept Order: A window will appear asking you to set the estimated time for collection or delivery. Select a preset (e.g., 15m, 30m) and click Confirm Order.
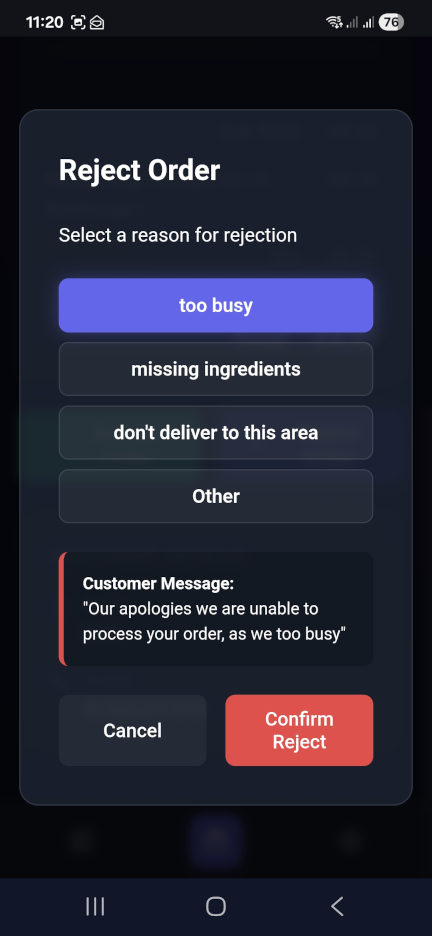
- Reject Order: If you cannot fulfill the order, select a reason (e.g., "Too Busy" or "Missing Ingredients"). The customer will receive an automated apology message. Click Confirm Reject to finalize.